How do I manage my projects?
This article explains how you can manage your projects in The Business Plan Shop's software.
Both the financial forecasts and the editorial sections of your business plan are included in your project.
How does the projects module work?
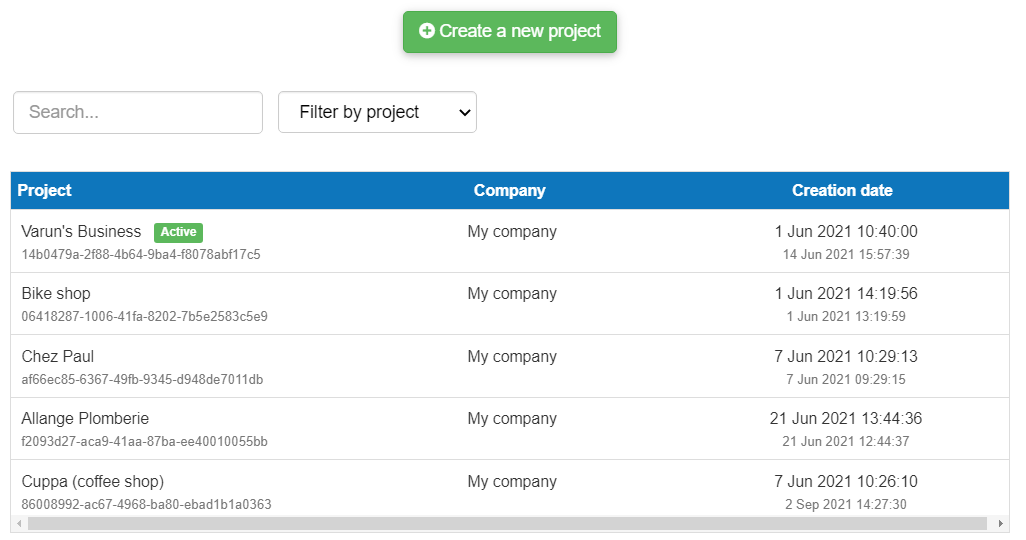
Projects tab
The projects tab allows you to change the active project, and to create, edit, copy and delete projects.
You can also choose which project you want to work on and grant access to other users in order to collaborate with them.
Similarly, you can edit the title and change the company that the project belongs to.
Note that you cannot restore a deleted project.
Comments & notes tab
The comments & notes tab lets you write notes on each page that may prove useful at a later stage.
These notes can be kept private or shared with other users that you have invited on your account.
Frequently Asked Questions
In The Business Plan Shop,our software, you can create projects in 4 different ways.
1/ Creating a blank project
- You’ll be given a business plan outline, including all the sections that are integral for a business plan and instructions on how to use them
- The project itself will be empty and you’ll be able to fill in all of the details about your business
2/ Creating a project using a business plan template
- Select a business plan template of your choice and upload it to our software to receive a business plan outline with both the editorial and financial forecast sections populated with the template data that you can adapt and replace to fit your project
3/ Creating a project using an existing project
- This enables you to update an existing business plans a couple of months down the road. You will start with the previous project's data, with the option to start from a given month. For example, if you created a plan starting in January 2022, you can create a new project using that data from June 2022.
- This mode can also be used to create new scenarios and compare the financial statements of each variants - like an upside and downside case
4/ Creating a project using a company’s financial data as a budgeting base
- This is only applicable to existing businesses who already have historical financial data imported in our software
- It prevents you having to build a budget from scratch
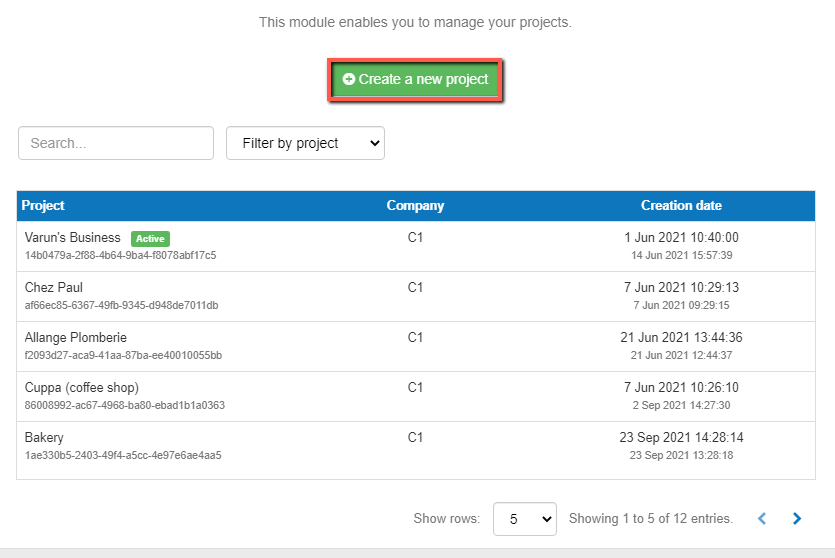
To create a new project:
- Firstly, click on the “create new project” button above the table
![how to create a new project by clicking on the add button]()
-
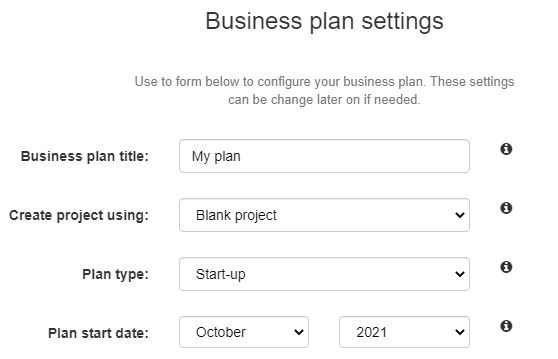
You’ll now need to fill in details about your new project
![details that need to be filled in to create a new project]()
- Finally, press save and close
If you are on desktop:
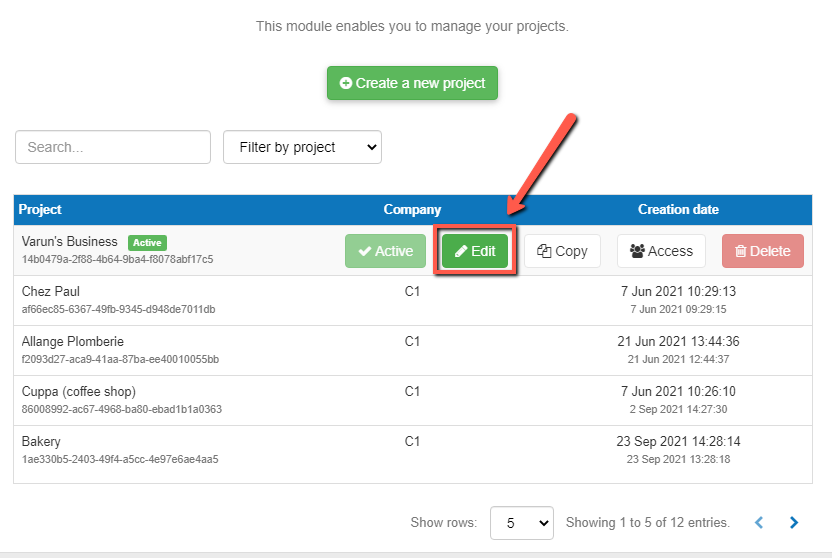
- Firstly, use the filters above the table to locate the project that you want to edit
- Hover your cursor over that project. An edit button will now appear
![using the edit button to change the name of my project or the company that it is associated with on desktop]()
- Click on the edit button
- Change the title of the project by entering its new name in the text box allocated
- Change the company that the project belongs to by selecting from the dropdown menu
- Finally, press OK.
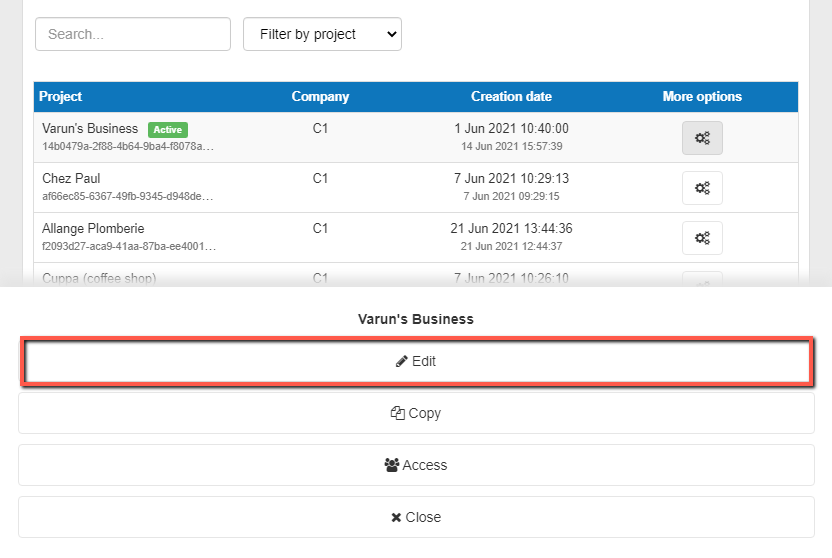
If you are on mobile:
- Firstly, use the filters above the table to locate the project that you want to edit
- Click on the more options button at the end of the row. An edit button will now appear
![using the edit button to change the name of my project or the company that it is associated with on mobile]()
- Click on the edit button
- Change the title of the project by entering its new name in the text box allocated
- Change the company that the project belongs to by selecting from the dropdown menu
- Finally, press OK.
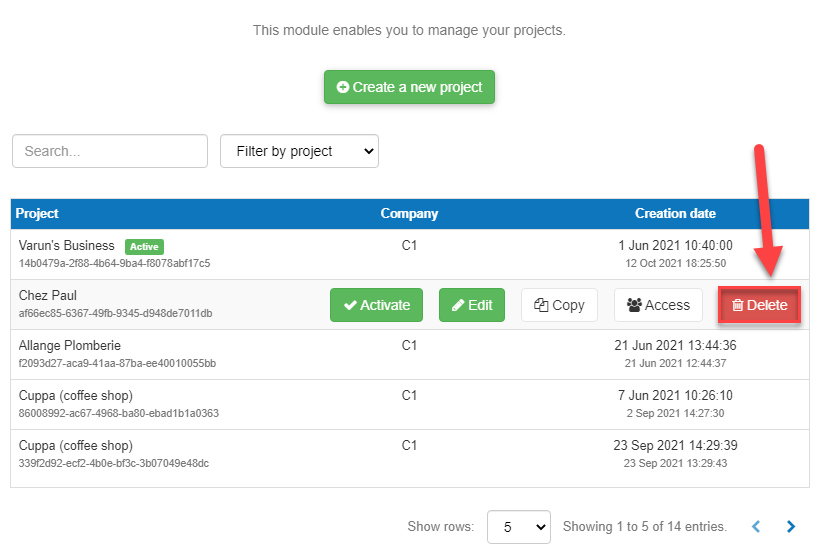
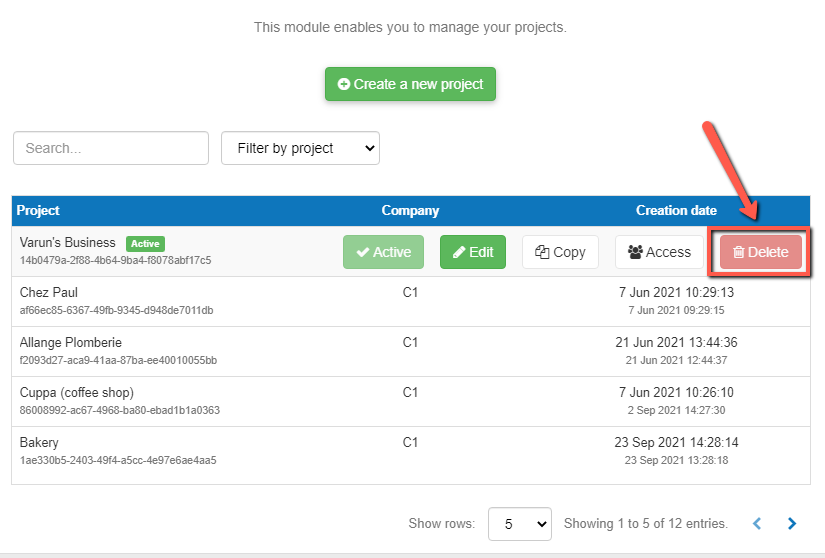
If you are on desktop:
- Firstly, use the filters above the table to locate the data you want to delete
- Next, hover your cursor over that row. A delete button will now appear
![deleting an unwanted project on desktop on the business plan shop]()
- Click on the delete button
- You’ll now get a message with the heading “Confirm Deletion”
- Click “OK” to delete the project
- Your project will now be deleted
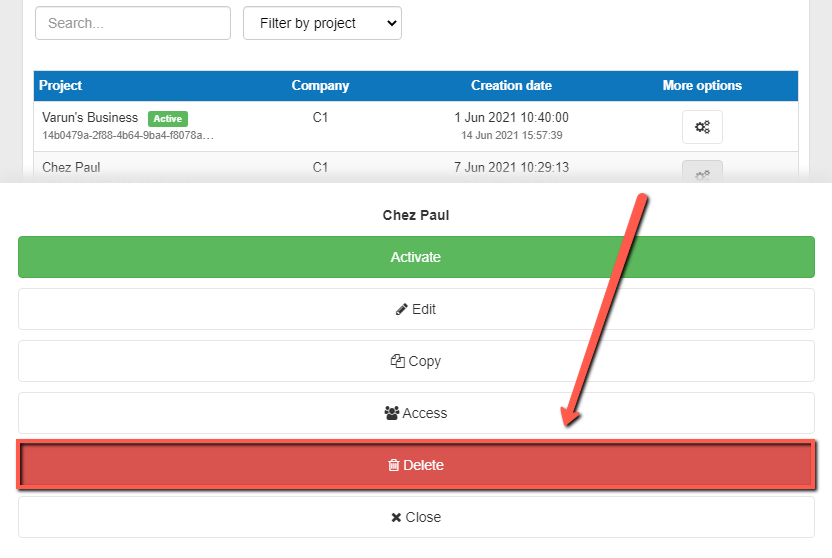
If you are on mobile:
- Firstly, use the filters above the table to locate the data you want to delete
- Click on the more options button at the end of the row. A delete button will now appear
![deleting an unwanted project on mobile on the business plan shop]()
- Click on the delete button
- You’ll now get a message with the heading “Confirm Deletion”
- Click “OK” to delete the project
- Your project will now be deleted
Note:
You cannot delete the active project.
If you want to delete it, make another project active first (or create a new project if you haven't already).
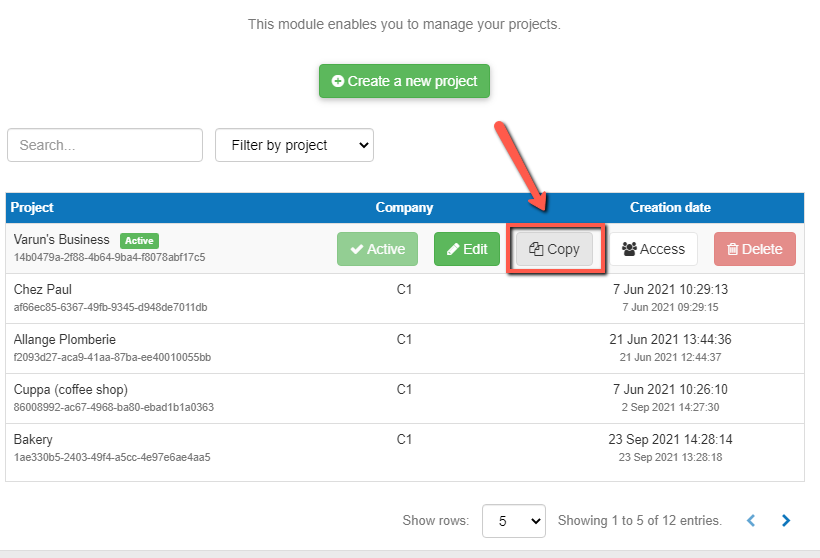
If you are on desktop:
- Firstly, use the filters above the table to locate the project that you want to copy
- Next, hover your cursor over that project, and click on the copy button that appears
![duplicating a project on desktop using the copy button]()
- Your project should now be duplicated.
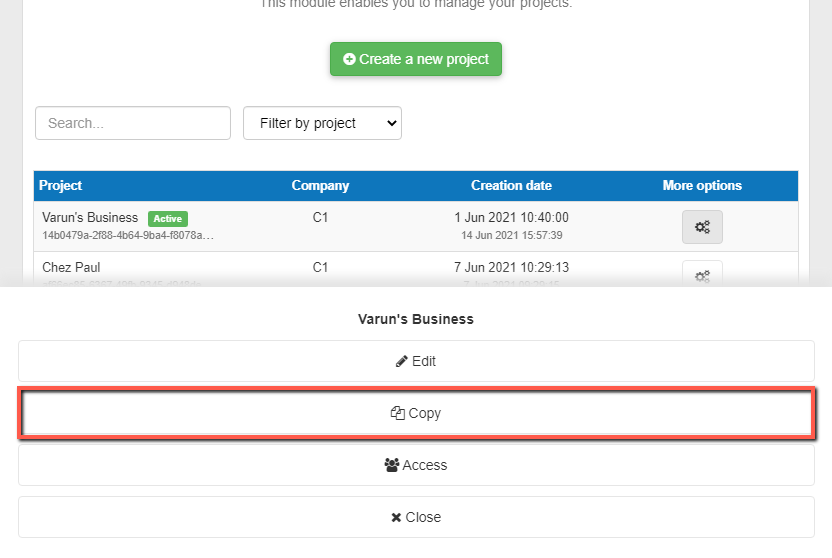
If you are on mobile:
- Firstly, use the filters above the table to locate the project that you want to copy
- Click on the more options button at the end of the row. A copy button will now appear
![duplicating a project on desktop using the copy button]()
- Click on the copy button and your project should now be duplicated
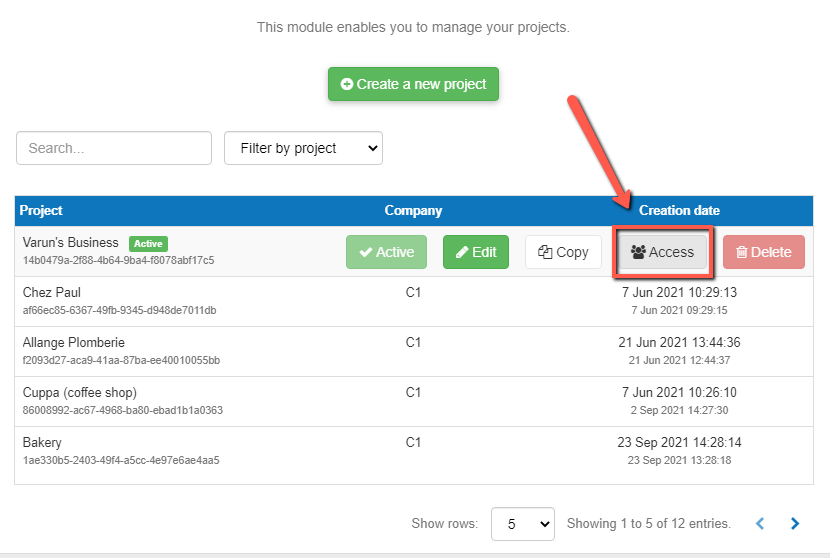
If you are on desktop:
- Firstly, use the filters above the table to locate the project that you want to give access to
- Hover your cursor over that project. An access button will now appear
![giving an invited access to one of my projects on desktop]()
- Click on the access button
- Using the table, you can change the access type / permission level for all users
- If you haven’t already invited a user, you need to do this first before you give access
- Follow the rest of the instructions in the “access view” help tab
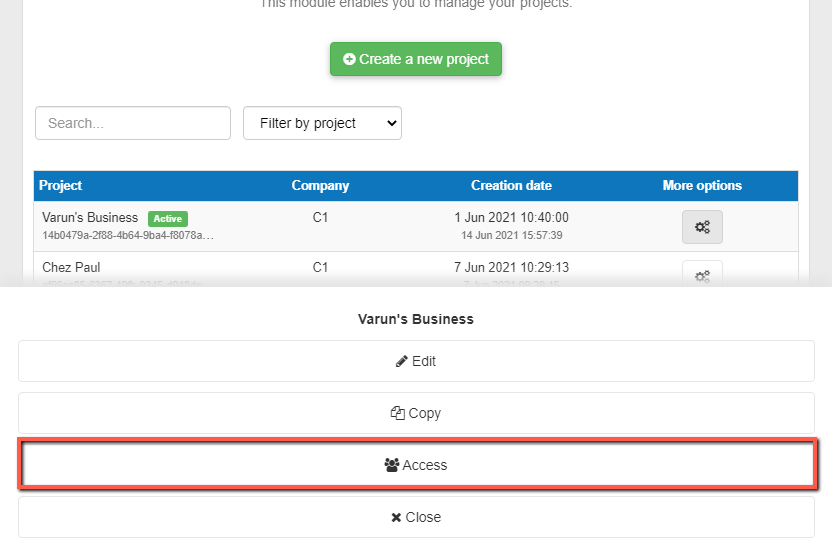
If you are on mobile:
- Firstly, use the filters above the table to locate the project that you want to give access to
- Click on the more options button at the end of the row. An access button will now appear
![giving an invited access to one of my projects on mobile]()
- Click on the access button
- Using the table, you can change the access type / permission level for all users
- If you haven’t already invited a user, you need to do this first before you give access
- Follow the rest of the instructions in the “access view” help tab
Note that the current project you are working on will say "active" next to its project name
If you are on desktop:
- Firstly, use the filters above the table to locate the project that you want to work on
- Hover your cursor over that project. An activate button will now appear
![changing the project that I want to work on using the activate button on desktop]()
- Click on the activate button
- Your project should now have changed

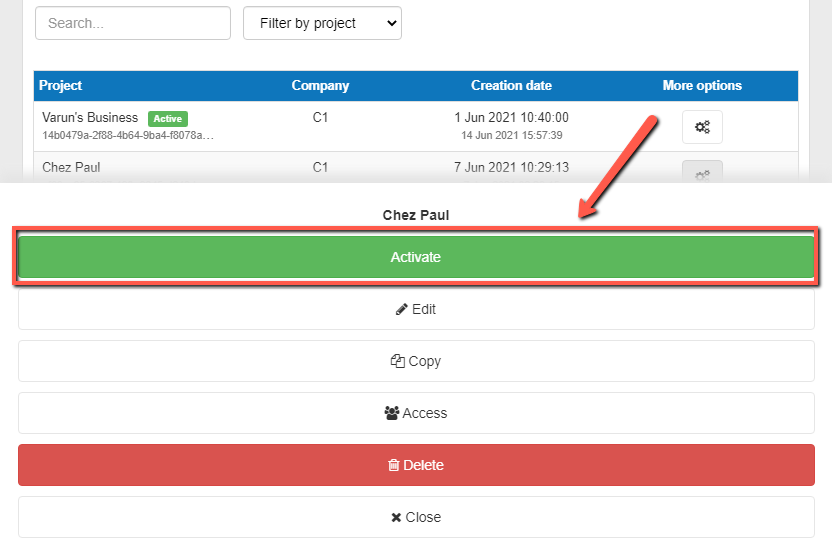
If you are on mobile:
- Firstly, use the filters above the table to locate the project that you want to work on
- Click on the more options button at the end of the row. An activate button will now appear
![changing the project that I want to work on using the activate button on mobile]()
- Click on the activate button
- Your project should now have changed
Was this page helpful?